TonConnect UI React is a React UI kit for the TonConnect SDK. Use it to connect your app to TON wallets via the TonConnect protocol in React apps.
Using TonConnect UI React will allow you to quickly create authorization and applications on TON.
Tonkeeper
In order to use it, you need a TON wallet, link to TONkeeper: https://tonkeeper.com/
Install dependencies
Make a folder for your project and go into it.
// Windows example
mkdir tcon_folder
cd tcon_folder
Before you begin, Node and yarn must be installed on your system. In our tutorial, we will use vite - a development environment setup tool. With it, we would make an application template:
yarn create vite react_ui_connect --template react-ts
Let’s go to the project folder:
cd react_ui_connect
Install “basic” dependencies:
yarn
To work with TON, we need:
yarn add ton ton-core ton-crypto
If you call the ton libraries right now (for example, convert the address and display it to the user), then you will see the Buffer is not defined error. To get around this problem, install:
yarn add vite-plugin-node-polyfills
You need this to solve the polyfill problem, and to solve it, you need to configure the vite config. Open vite.config.ts and see the template settings:
import { defineConfig } from 'vite'
import react from '@vitejs/plugin-react'

// https://vitejs.dev/config/
export default defineConfig({
	plugins: [react()],
})
Add vite-plugin-node-polyfills to it:
import { defineConfig } from 'vite'
import react from '@vitejs/plugin-react'
import { nodePolyfills } from "vite-plugin-node-polyfills";

// https://vitejs.dev/config/
export default defineConfig({
	plugins: [react(),nodePolyfills()],
})
It remains to install TON Connect react-ui:
yarn add @tonconnect/ui-react
Manifest
When a user connects to the application, via TON Connect, the wallet shows the user the connection information - where the user is connecting. To transfer this information from the application to TON Connect, you need to make a manifest file, which we will transfer when creating a connection, between our application and the wallet.
Parameters or otherwise metadata has the following fields:
{
  "url": "<app-url>",                        // required
  "name": "<app-name>",                      // required
  "iconUrl": "<app-icon-url>",               // required
  "termsOfUseUrl": "<terms-of-use-url>",     // optional
  "privacyPolicyUrl": "<privacy-policy-url>" // optional
}
It is good practice to place the manifest with metadata in the root of your application, but you can also place it on github.
For example, let’s take a link to the github from the repository with an example:
const manifestUrl = 'https://gist.githubusercontent.com/siandreev/75f1a2ccf2f3b4e2771f6089aeb06d7f/raw/d4986344010ec7a2d1cc8a2a9baa57de37aaccb8/gistfile1.txt';
When we have the manifest ready, we can proceed to the connection.
Connection
Open the file src\main.tsx and import TonConnectUIProvider into it:
import React from 'react'
import ReactDOM from 'react-dom/client'
import App from './App.tsx'
import './index.css'
import {TonConnectUIProvider} from "@tonconnect/ui-react"

ReactDOM.createRoot(document.getElementById('root') as HTMLElement).render(
  <React.StrictMode>
	<App />
  </React.StrictMode>,
)
Let’s add a manifest:
import React from 'react'
import ReactDOM from 'react-dom/client'
import App from './App.tsx'
import './index.css'
import {TonConnectUIProvider} from "@tonconnect/ui-react"

const manifestUrl = 'https://gist.githubusercontent.com/siandreev/75f1a2ccf2f3b4e2771f6089aeb06d7f/raw/d4986344010ec7a2d1cc8a2a9baa57de37aaccb8/gistfile1.txt';

ReactDOM.createRoot(document.getElementById('root') as HTMLElement).render(
  <React.StrictMode>
	<App />
  </React.StrictMode>,
)
To create a connection, we need to wrap our application in TonConnectUIProvider, it might look like this:
//import React from 'react'
import ReactDOM from 'react-dom/client'
import App from './App.tsx'
import './index.css'
import {TonConnectUIProvider} from "@tonconnect/ui-react"

const manifestUrl = 'https://gist.githubusercontent.com/siandreev/75f1a2ccf2f3b4e2771f6089aeb06d7f/raw/d4986344010ec7a2d1cc8a2a9baa57de37aaccb8/gistfile1.txt';

ReactDOM.createRoot(document.getElementById('root') as HTMLElement).render(
    <TonConnectUIProvider manifestUrl={manifestUrl}>
	<App />
  </TonConnectUIProvider>
)
Now we have a connection, we will use it for the authorization button.
Login button
Go to the App.tsx file and remove everything unnecessary inside the first div and remove the extra logo from the import:
import { useState } from 'react'
import './App.css'

function App() {
  const [count, setCount] = useState(0)

  return (
	<>
	</>
  )
}

export default App
To create an authorization button, we will use TonConnect Button. TonConnect Button is a universal UI component for initializing connection. After wallet is connected it transforms to a wallet menu. Importing the component:
import { useState } from 'react'
import './App.css'
import { TonConnectButton } from '@tonconnect/ui-react'

function App() {
  const [count, setCount] = useState(0)

  return (
	<>

	</>
  )
}

export default App
Since it’s a component, we can just call it inside a function:
import { useState } from 'react'
import './App.css'
import { TonConnectButton } from '@tonconnect/ui-react'


function App() {
  const [count, setCount] = useState(0)

  return (
	<>
	  <TonConnectButton/>
	</>
  )
}

export default App
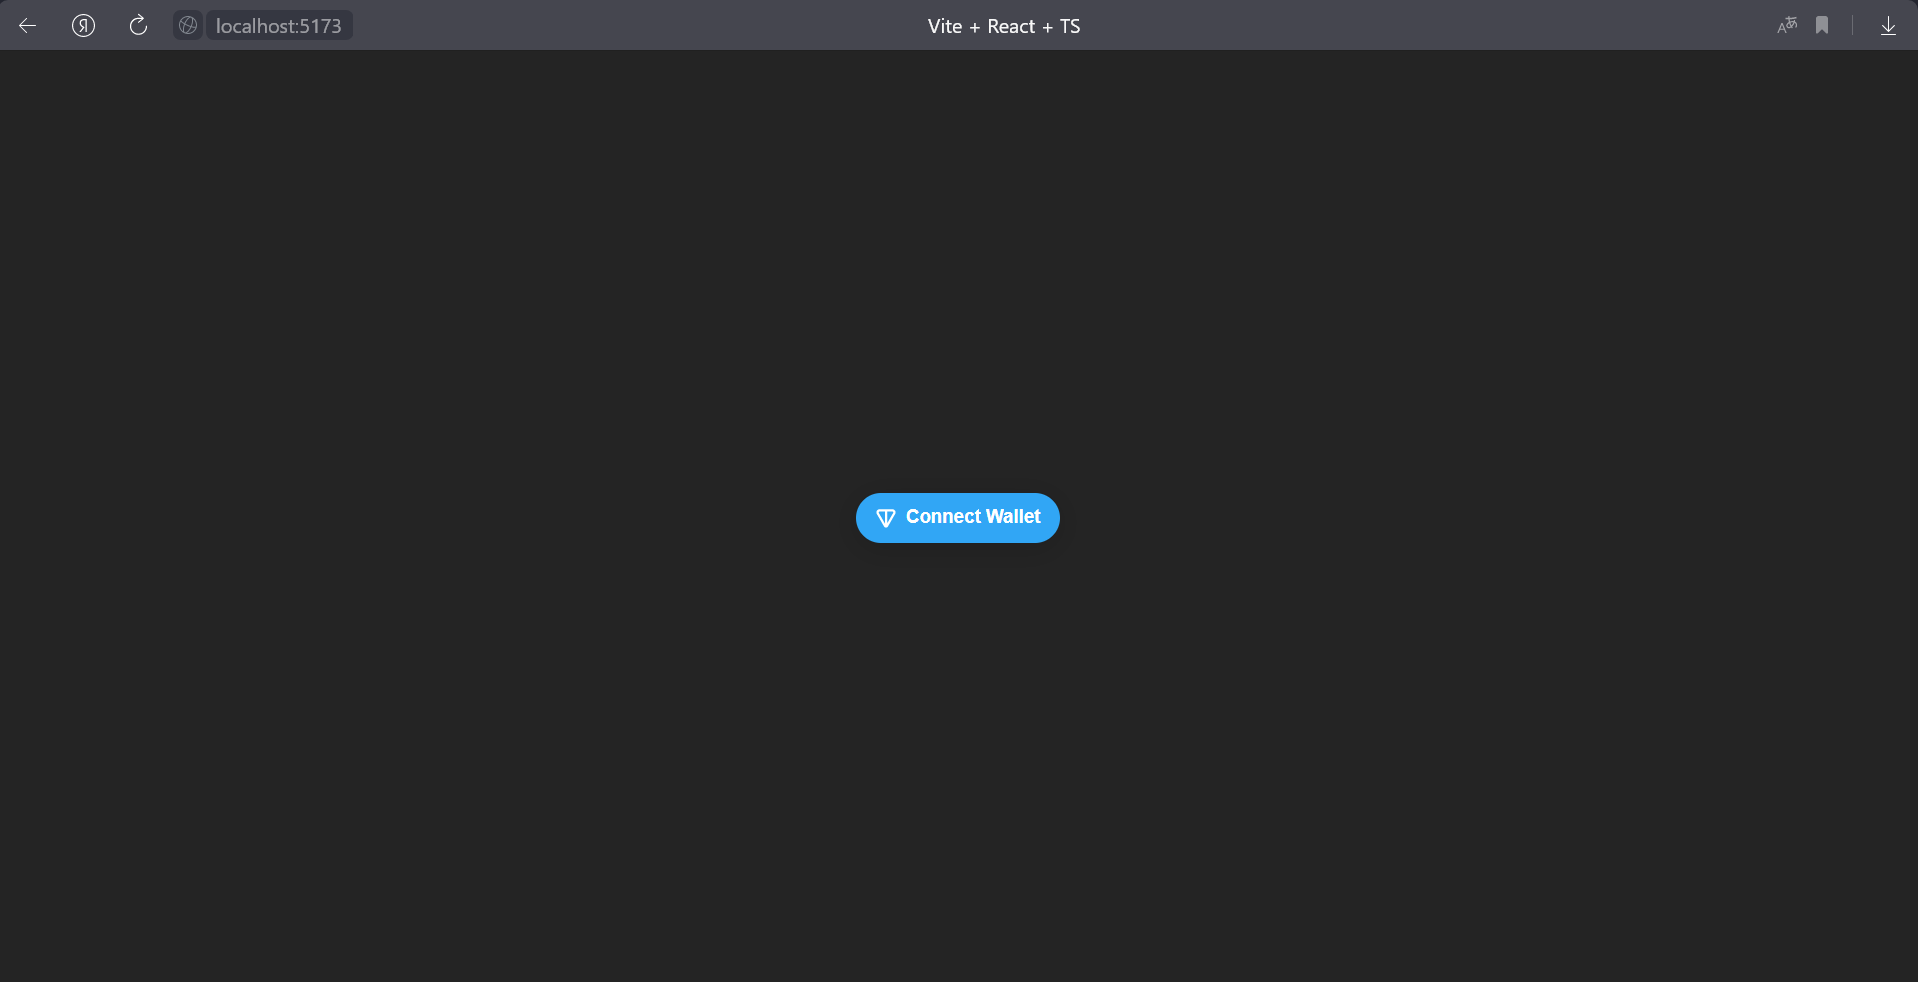
Run the application with the yarn dev command. And enter the link in the browser. Must see:
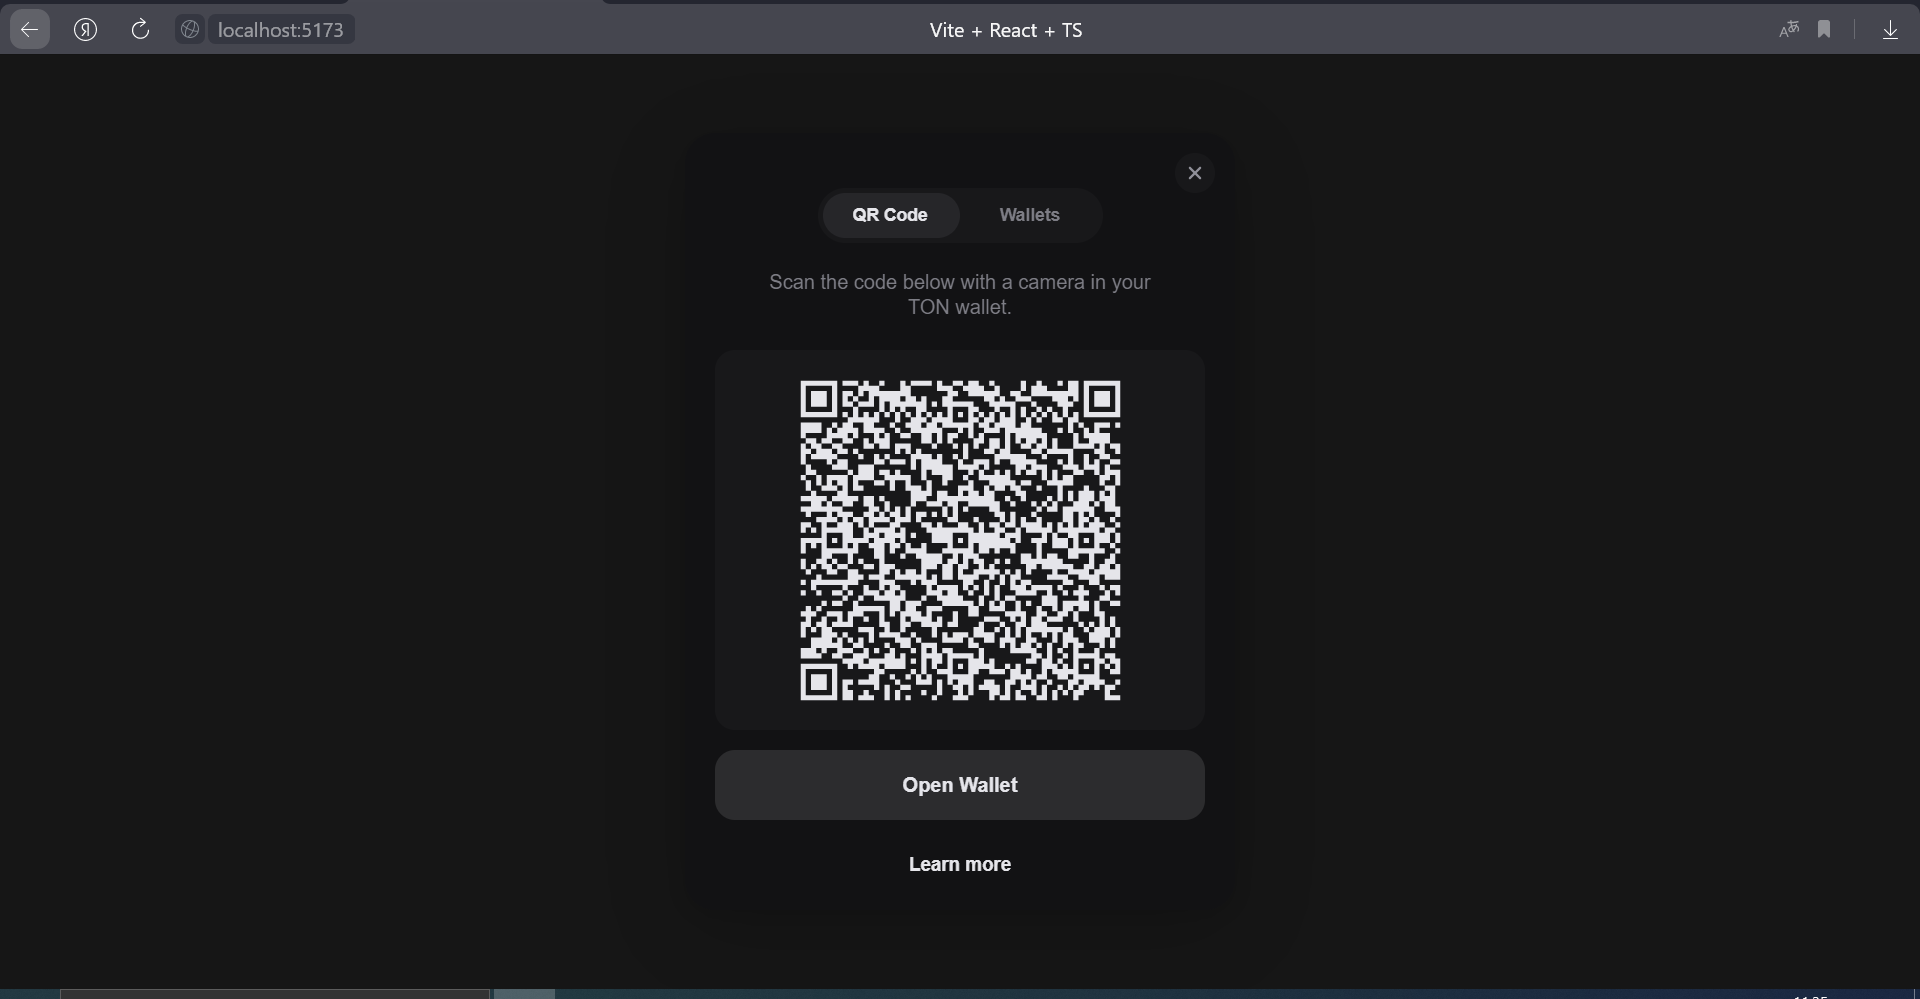
Click on the button and you will see a QR and the ability to select a wallet:
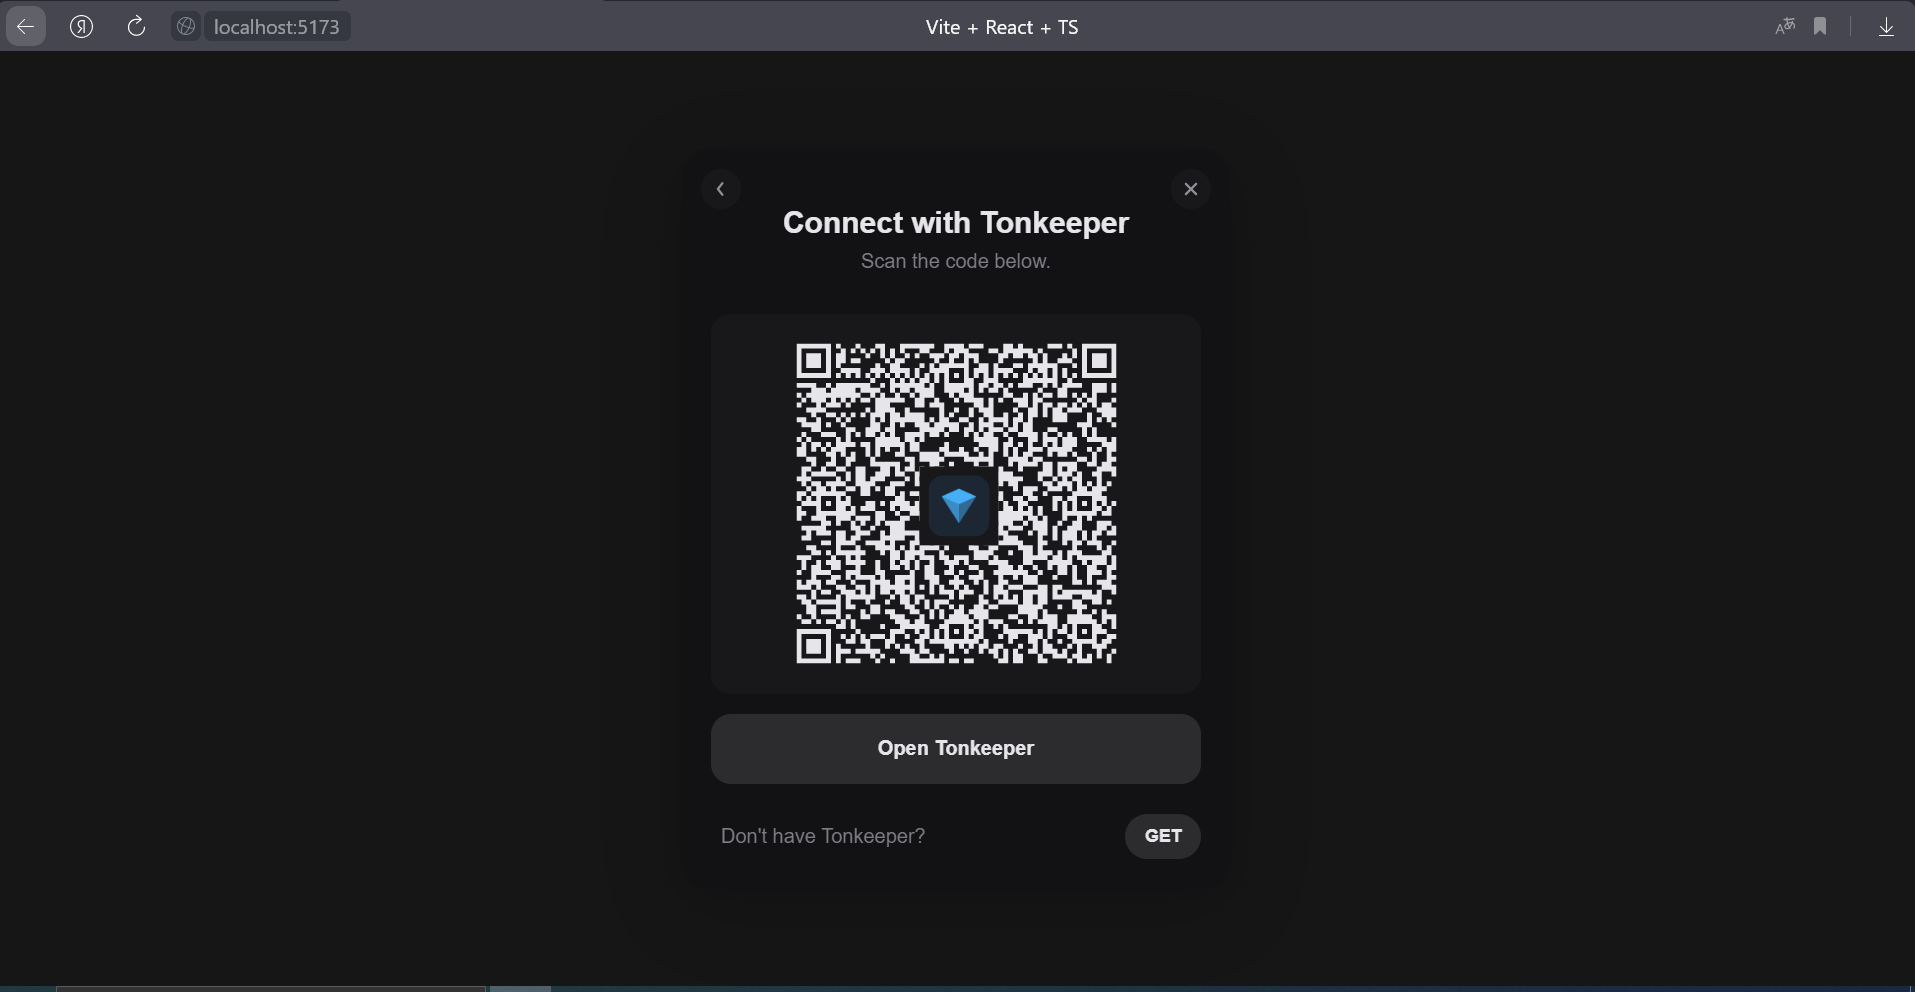
Select Tonkeeper in wallets tab, QR will change:
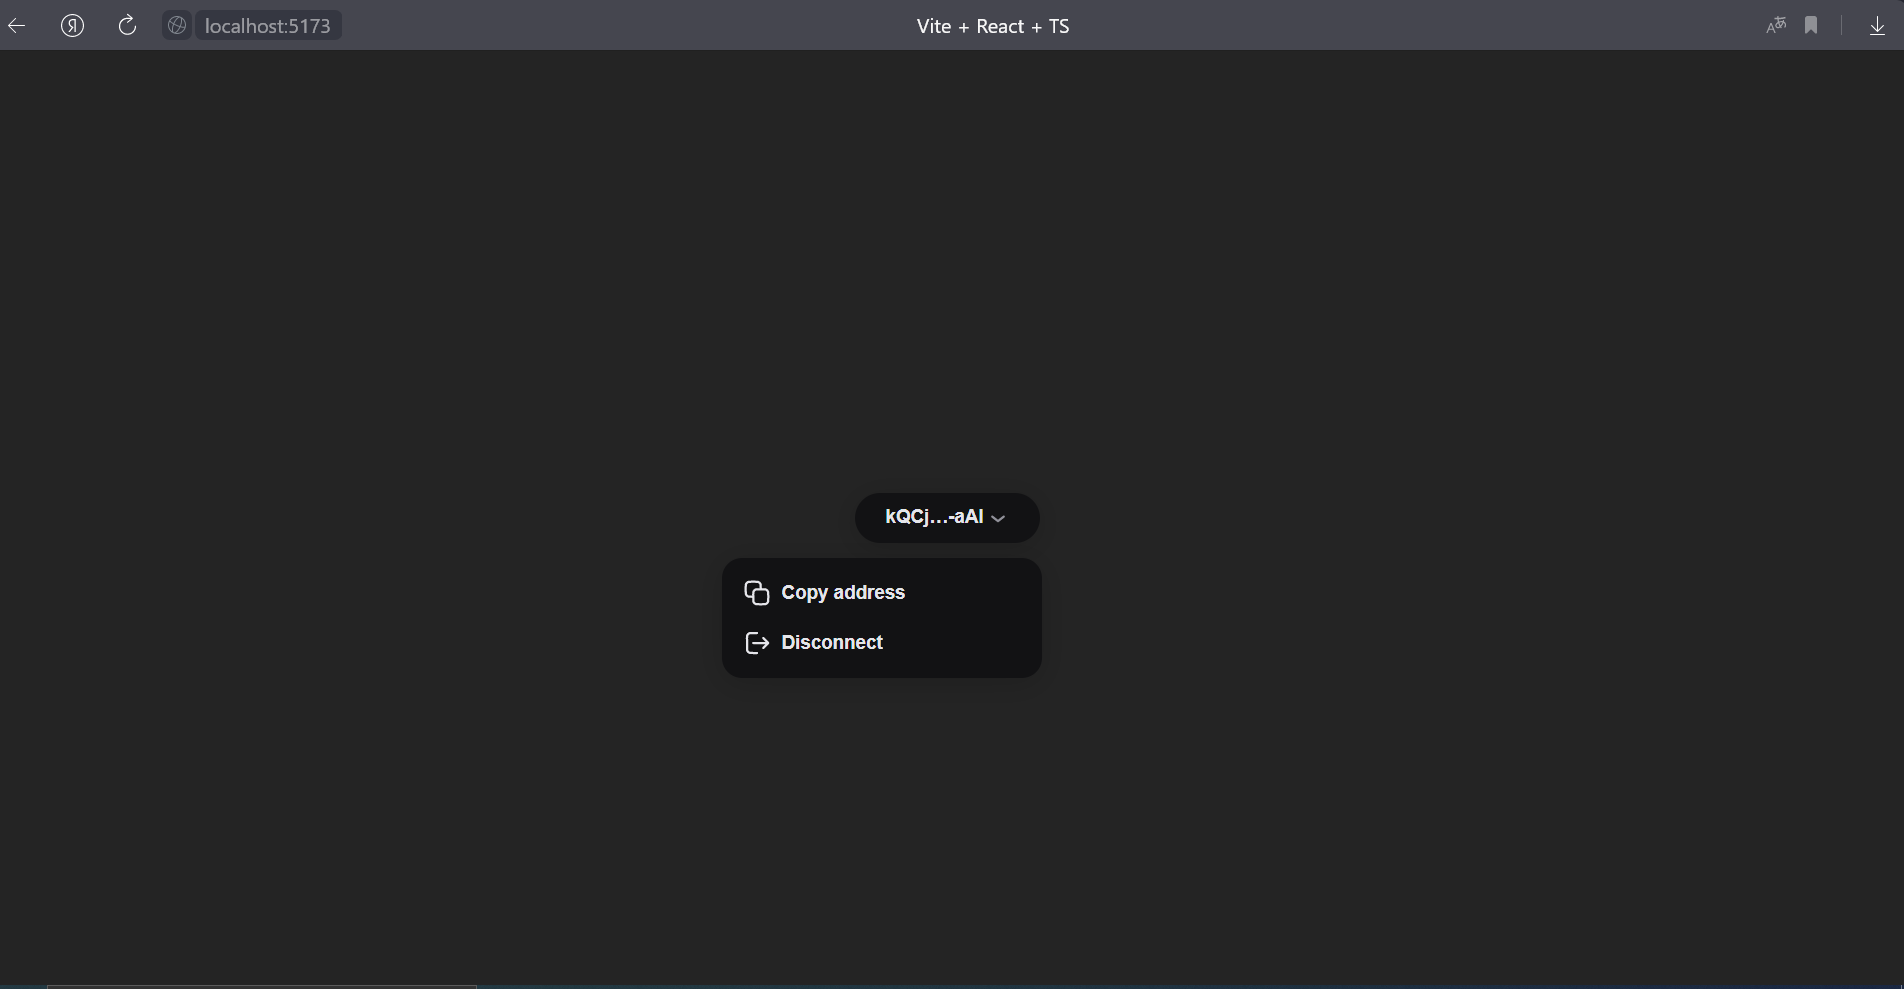
We log in using Tonkeeper, the button will change and will display your address. In the drop-down list there will be a disconnect button and the ability to copy the address.
And all this with the help of one component, which we added with one line of code. In the next tutorial, we will figure out how to interact with smart contracts after authorization by sending transactions.
Conclusion
In the next part, we will add a transaction submission, as well as a call to the Get method, to verify that the transaction has been submitted. I write similar tutorials and analyzes on the TON network in my channel - Telegram: Contact @ton_learn . I will be glad to your subscription.